Chair/ottoman—BEFORE
Close up of arm
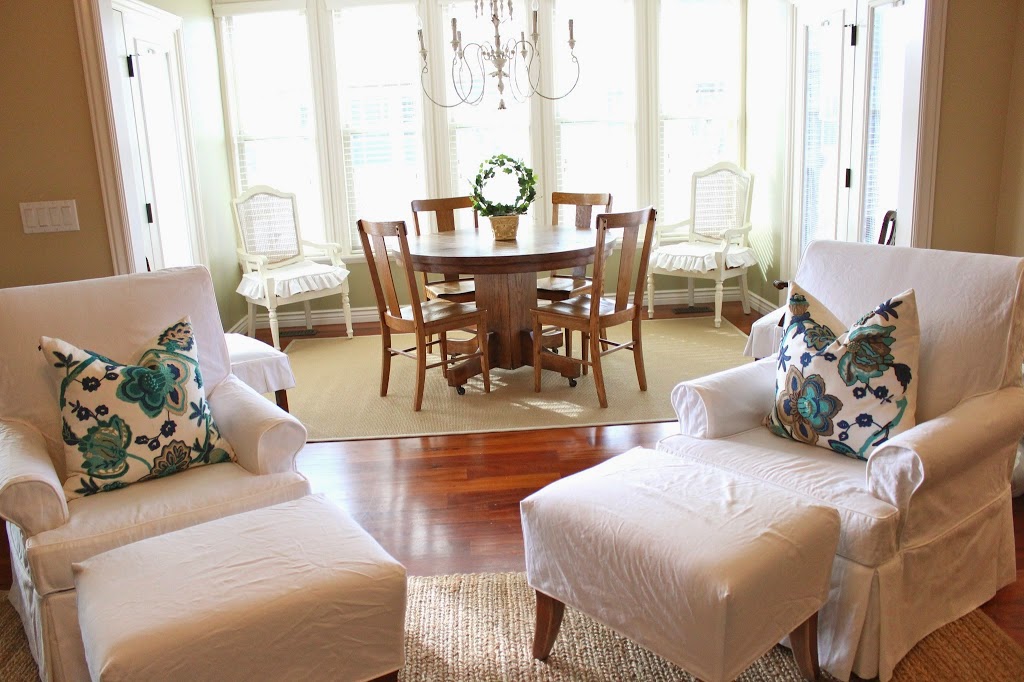
I loved her antique round table and chandelier! I love rustic wood pieces. The white contrasted nicely!
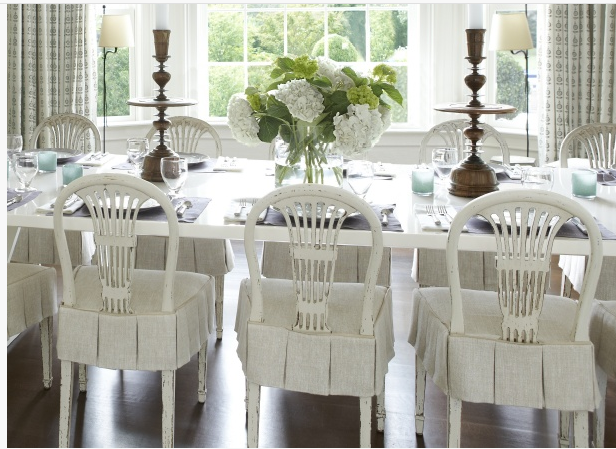
We also did 2 arm chairs and 4 side dining chairs. These required some thought… she sent me an inspiration pic, so I knew it was possible, I just had to figure out how to get a skirt on the back with the wood piece down the center of the chair.
INSPIRATION PIC–

AFTER–SIDE CHAIR–my solution was to run the piping on the outside of the posts, attach skirt to piping. Then use velcro to attach the sections to either side of the vertical wood piece.
AFTER–Arm chair–same idea–velcro around the outside edge, but I had to do velcro along the sides as well between the back post and where the arm attaches to the seat. This way once the velcro is detached, the whole cover lifts up and over the wood back.
SIDE NOTE– Brainstorming some new ideas. I am located in Utah.
1) 2 day workshop— day1- slipcover main body of a chair
day2- skirt, cushion, and pillow. 4-6 students/session
2) Job shadowing- come to work with me at my studio for 3 days (slipcovering, appts out, photography, blog, quickbooks, etc) 2-3 students/ session. This would be geared towards someone that has already started or wants to start a slipcover business.
3) Skype mentoring–sign up for the day you have a similar item and follow along in real time.
Tell me your thoughts! What interests you the most, and what would you seriously consider signing up for?









Shelley,
I’d love to do the Skype mentoring with you! If I lived closer I’d come watch you in person
Lisa
I am in Nova Scotia, canada and would like to do a Skype session,
Deborah